SKLightNode, normal maps, and light scaling
One of my aims with The Forest is to make it feel like you are genuinely exploring a vast forest, the size and scale of which are unknowable to the player. When you’re stood in a dense forest in the real world, it’s hard to tell if you’re miles or metres away from the exit and that’s what I want to get across here. In the first instance, I’ve extended my hex grid tile map from last month by adding three additional tiles worth of depth around the main board. The reason for this is that the camera will be locked to the main board so if you scroll to the edge you won’t see the edge of the tiles but rather a continuation making it seem larger than it really is. The second element and the focus of today’s article is to introduce lighting, or more specifically, lack of lighting.
To begin with, I’m going to alter my tile map by fully blending it with the grey colour I use for the background upon which all the tiles sit using color and colorBlendFactor. This will ensure the background tiles are dark whilst the revealed tiles look almost backlit:
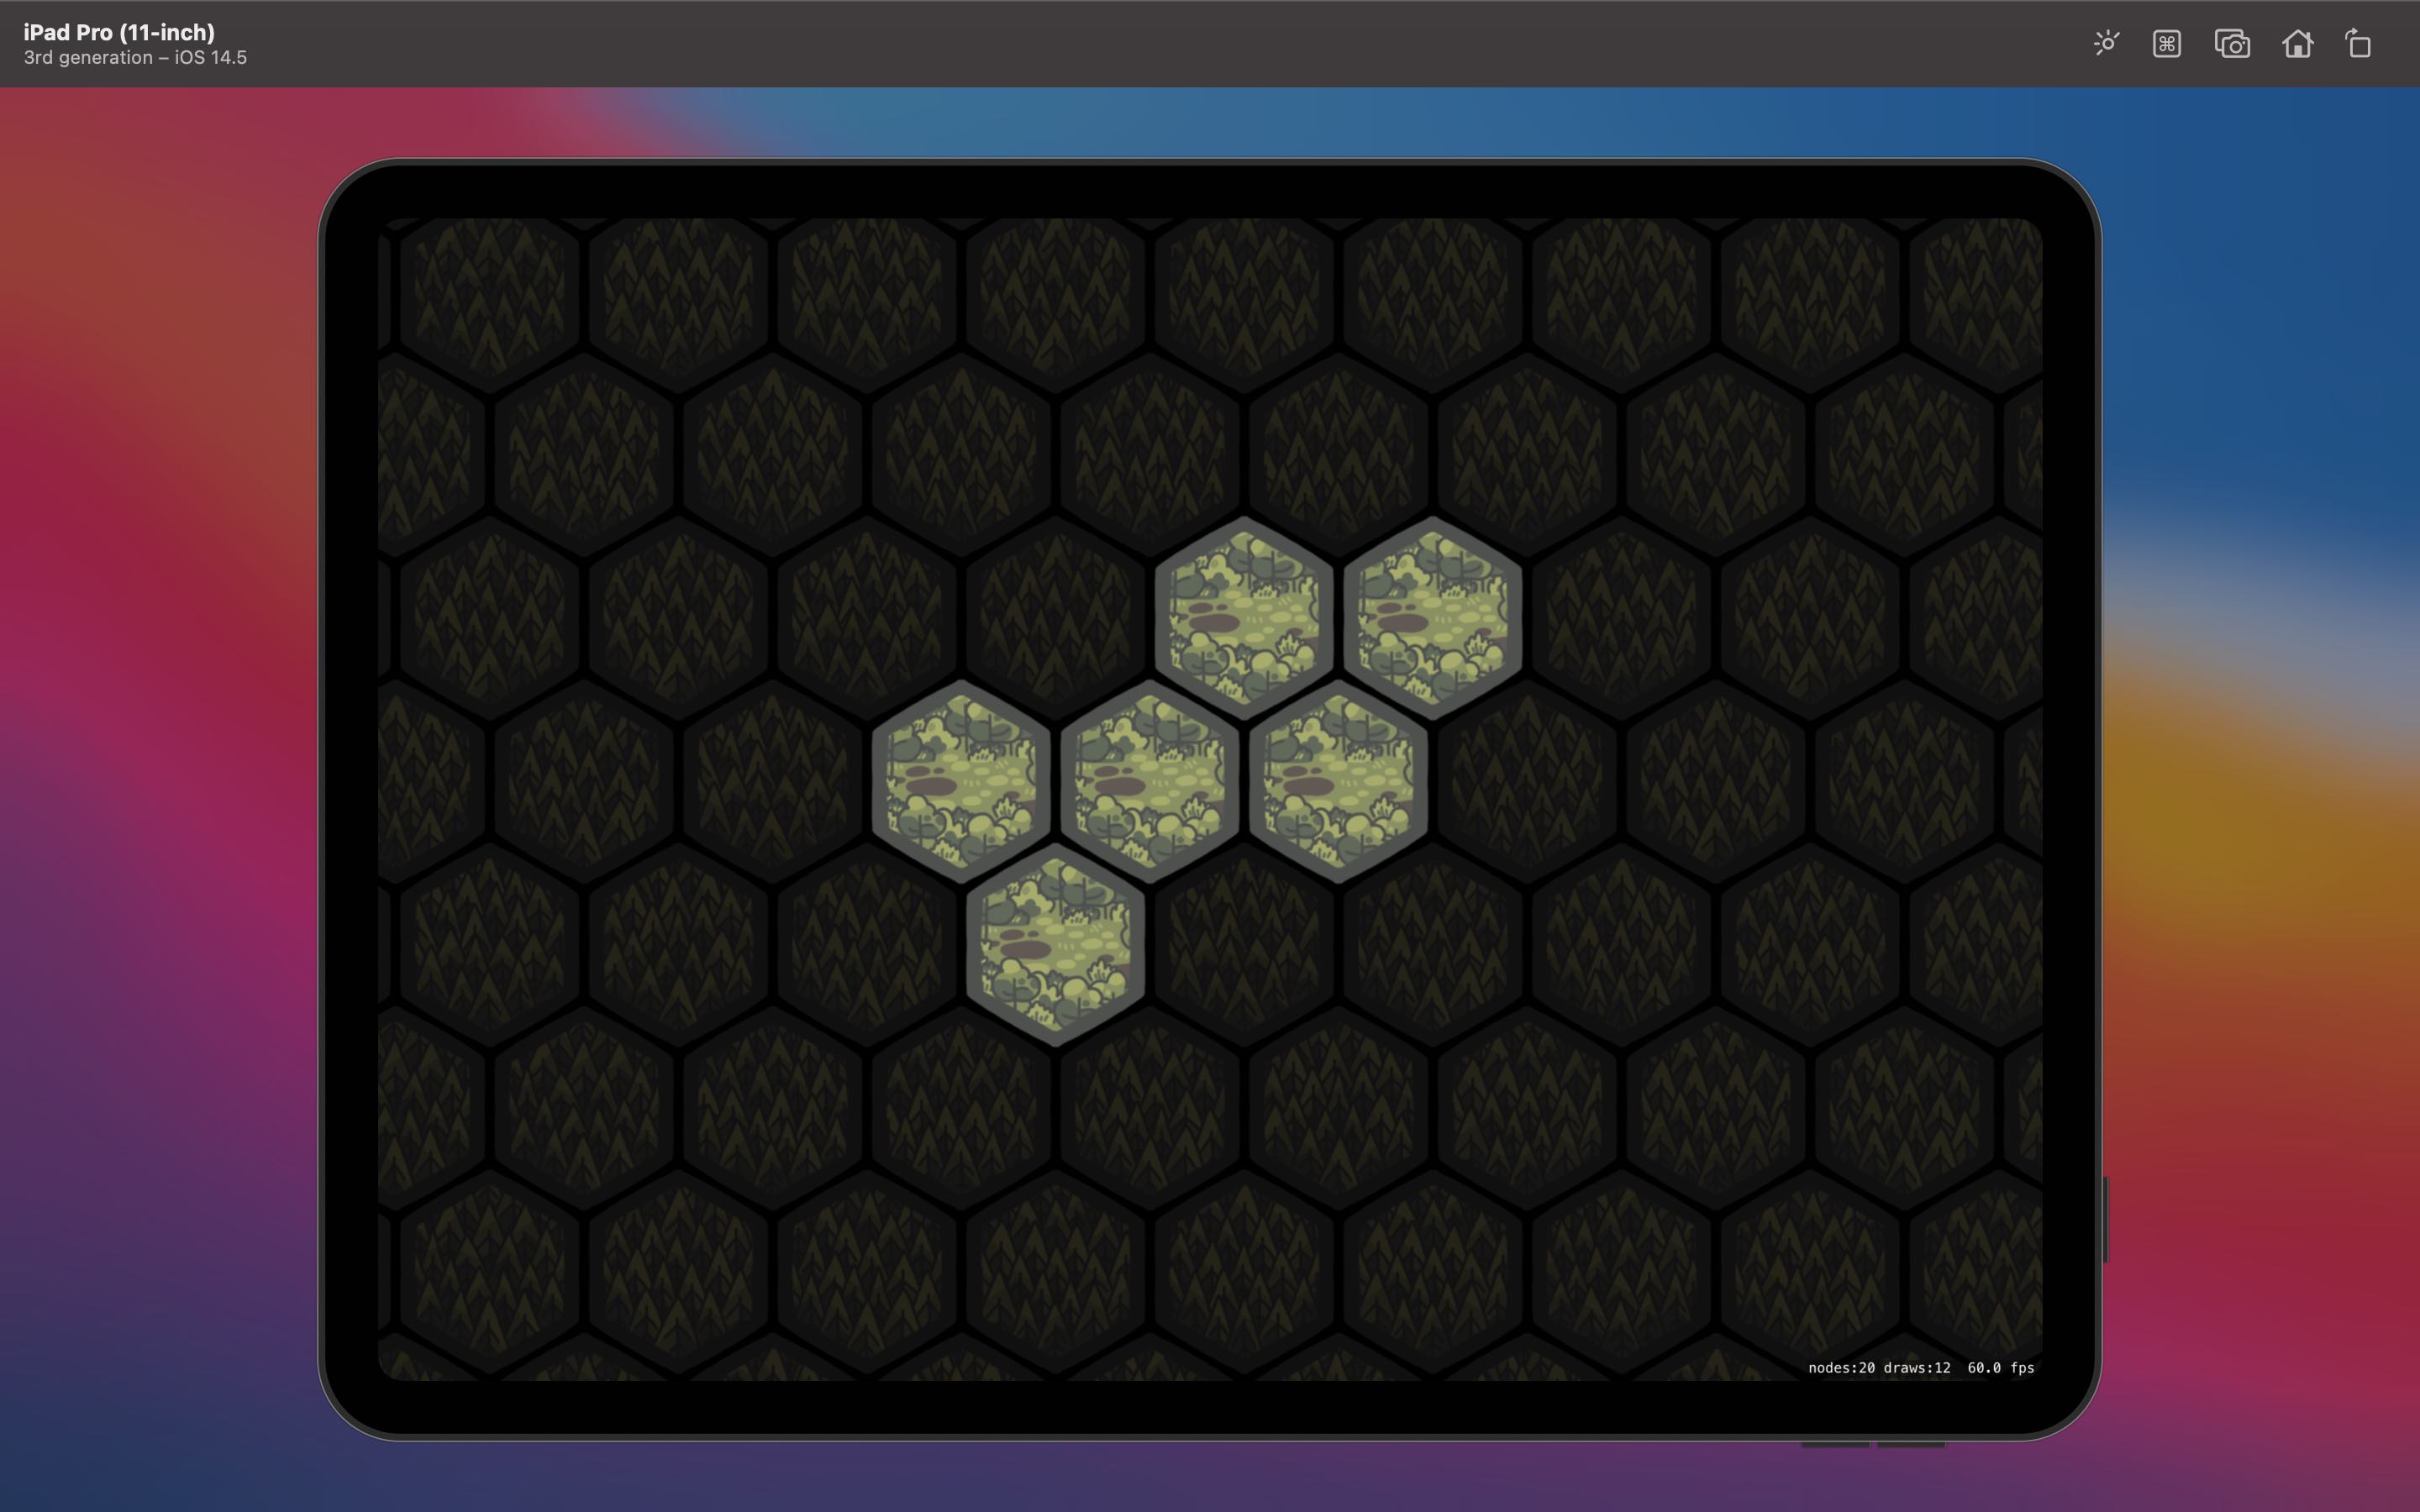
This already looks much better and immediately focusses attention on the currently active tiles. However, we can go a step further by taking advantage of light nodes to provide dynamic lighting. The first step is to set our tile map to use a lightingBitMask; you can use different bits so that certain lights can affect different nodes but for now we’re just setting it to 1. Our map will now respect any light that is thrown at it. To do that, we need to add an SKLightNode to each of our revealed tiles:
let node = SKLightNode()
node.categoryBitMask = 1
let colors: [UIColor] = [.white, .blue, .orange]
node.lightColor = colors.randomElement() ?? .white
node.zPosition = 10
node.falloff = 1.8
addChild(node)
We create a light node and set its categoryBitMask to match the lightingBitMask of the nodes we want to illuminate (in this case the background tile map). Then we choose a colour, set our Z position so we’re on top of our map, choose the rate of decay for our light (known as falloff), and add it to our scene. An SKLightNode is itself invisible; it’s only purpose is to affect the light on other nodes. The end result looks pretty good:
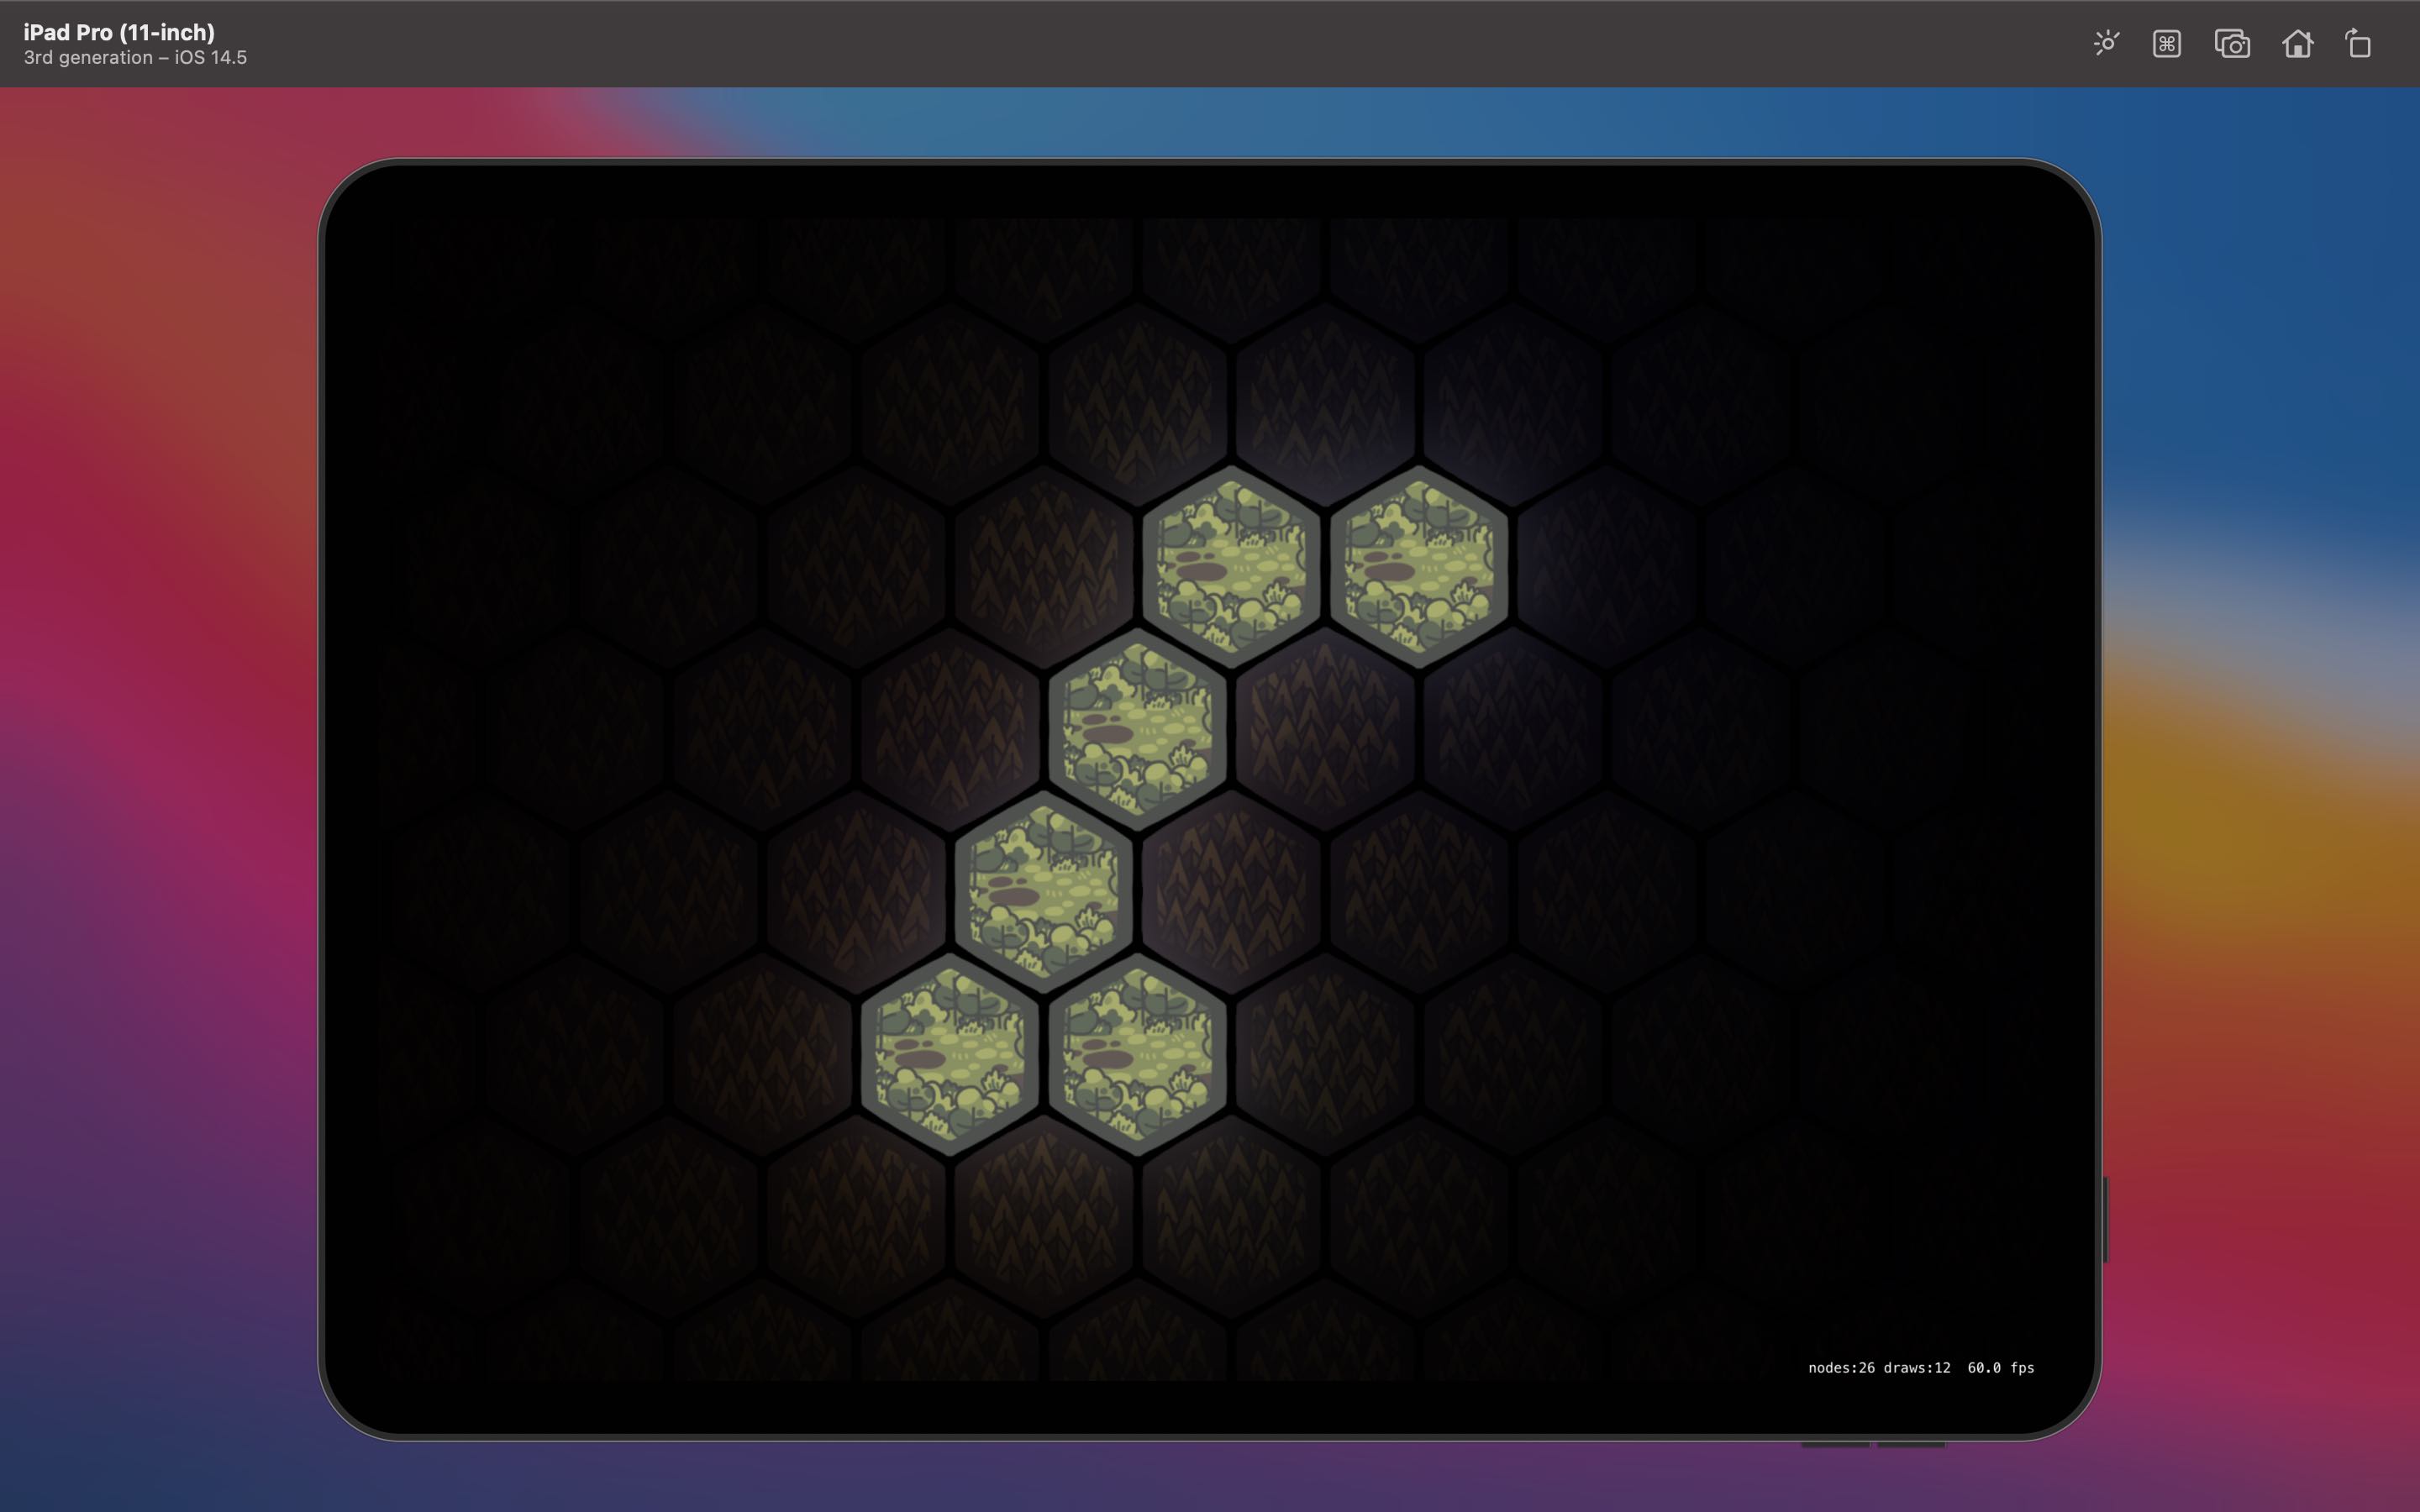
Whilst we haven’t changed the revealed tiles at all, they now stand out even more thanks to the background tiles slowly fading into blackness. If you were to scroll to the sides you’d eventually see nothing which is exactly how I wanted it. There is one more improvement that can be made and that’s to incorporate a certain amount of depth to the tiles. To do this, we use normal maps which are described as a “texture mapping technique used for faking the lighting of bumps and dents”1. You can use an app like SpriteIlluminator to take your 2D images and convert them into normal maps for use within SpriteKit and this is exactly what I did before realising that you can already do this for free with SpriteKit. 🤦🏻♂️
private func addNormalTextures() {
    var normalMaps = [String: SKTexture]()
    for r in 0..<map.numberOfRows {
        for c in 0..<map.numberOfColumns {
            let definition = map.tileDefinition(atColumn: c, row: r)
            guard let name = definition?.name else { continue }
            if normalMaps[name] == nil {
                normalMaps[name] = definition?.textures.first?.generatingNormalMap(withSmoothness: 0.2, contrast: 0.2)
            }
            if let texture = normalMaps[name] {
                definition?.normalTextures = [texture]
            }
        }
    }
}
To do this, we need a function to loop through each hex in the tile map. If we haven’t already generated a normal map for the current tile definition (which is one of ten different images I use for the tile map) then we go down to the texture and generate a map with a smoothness and a contrast of 0.2, a figure I came to by trial and error2. Once done, the resulting map is stored in a temporary caching array before being added as a normal texture to the tile definition. Whilst apps like SpriteIlluminator give you a lot more freedom to create customised normal maps, the built in methods within SpriteKit are perfect for my needs and save me having to manually generate and store the maps for every texture I want to use. The end result is a vast improvement again:
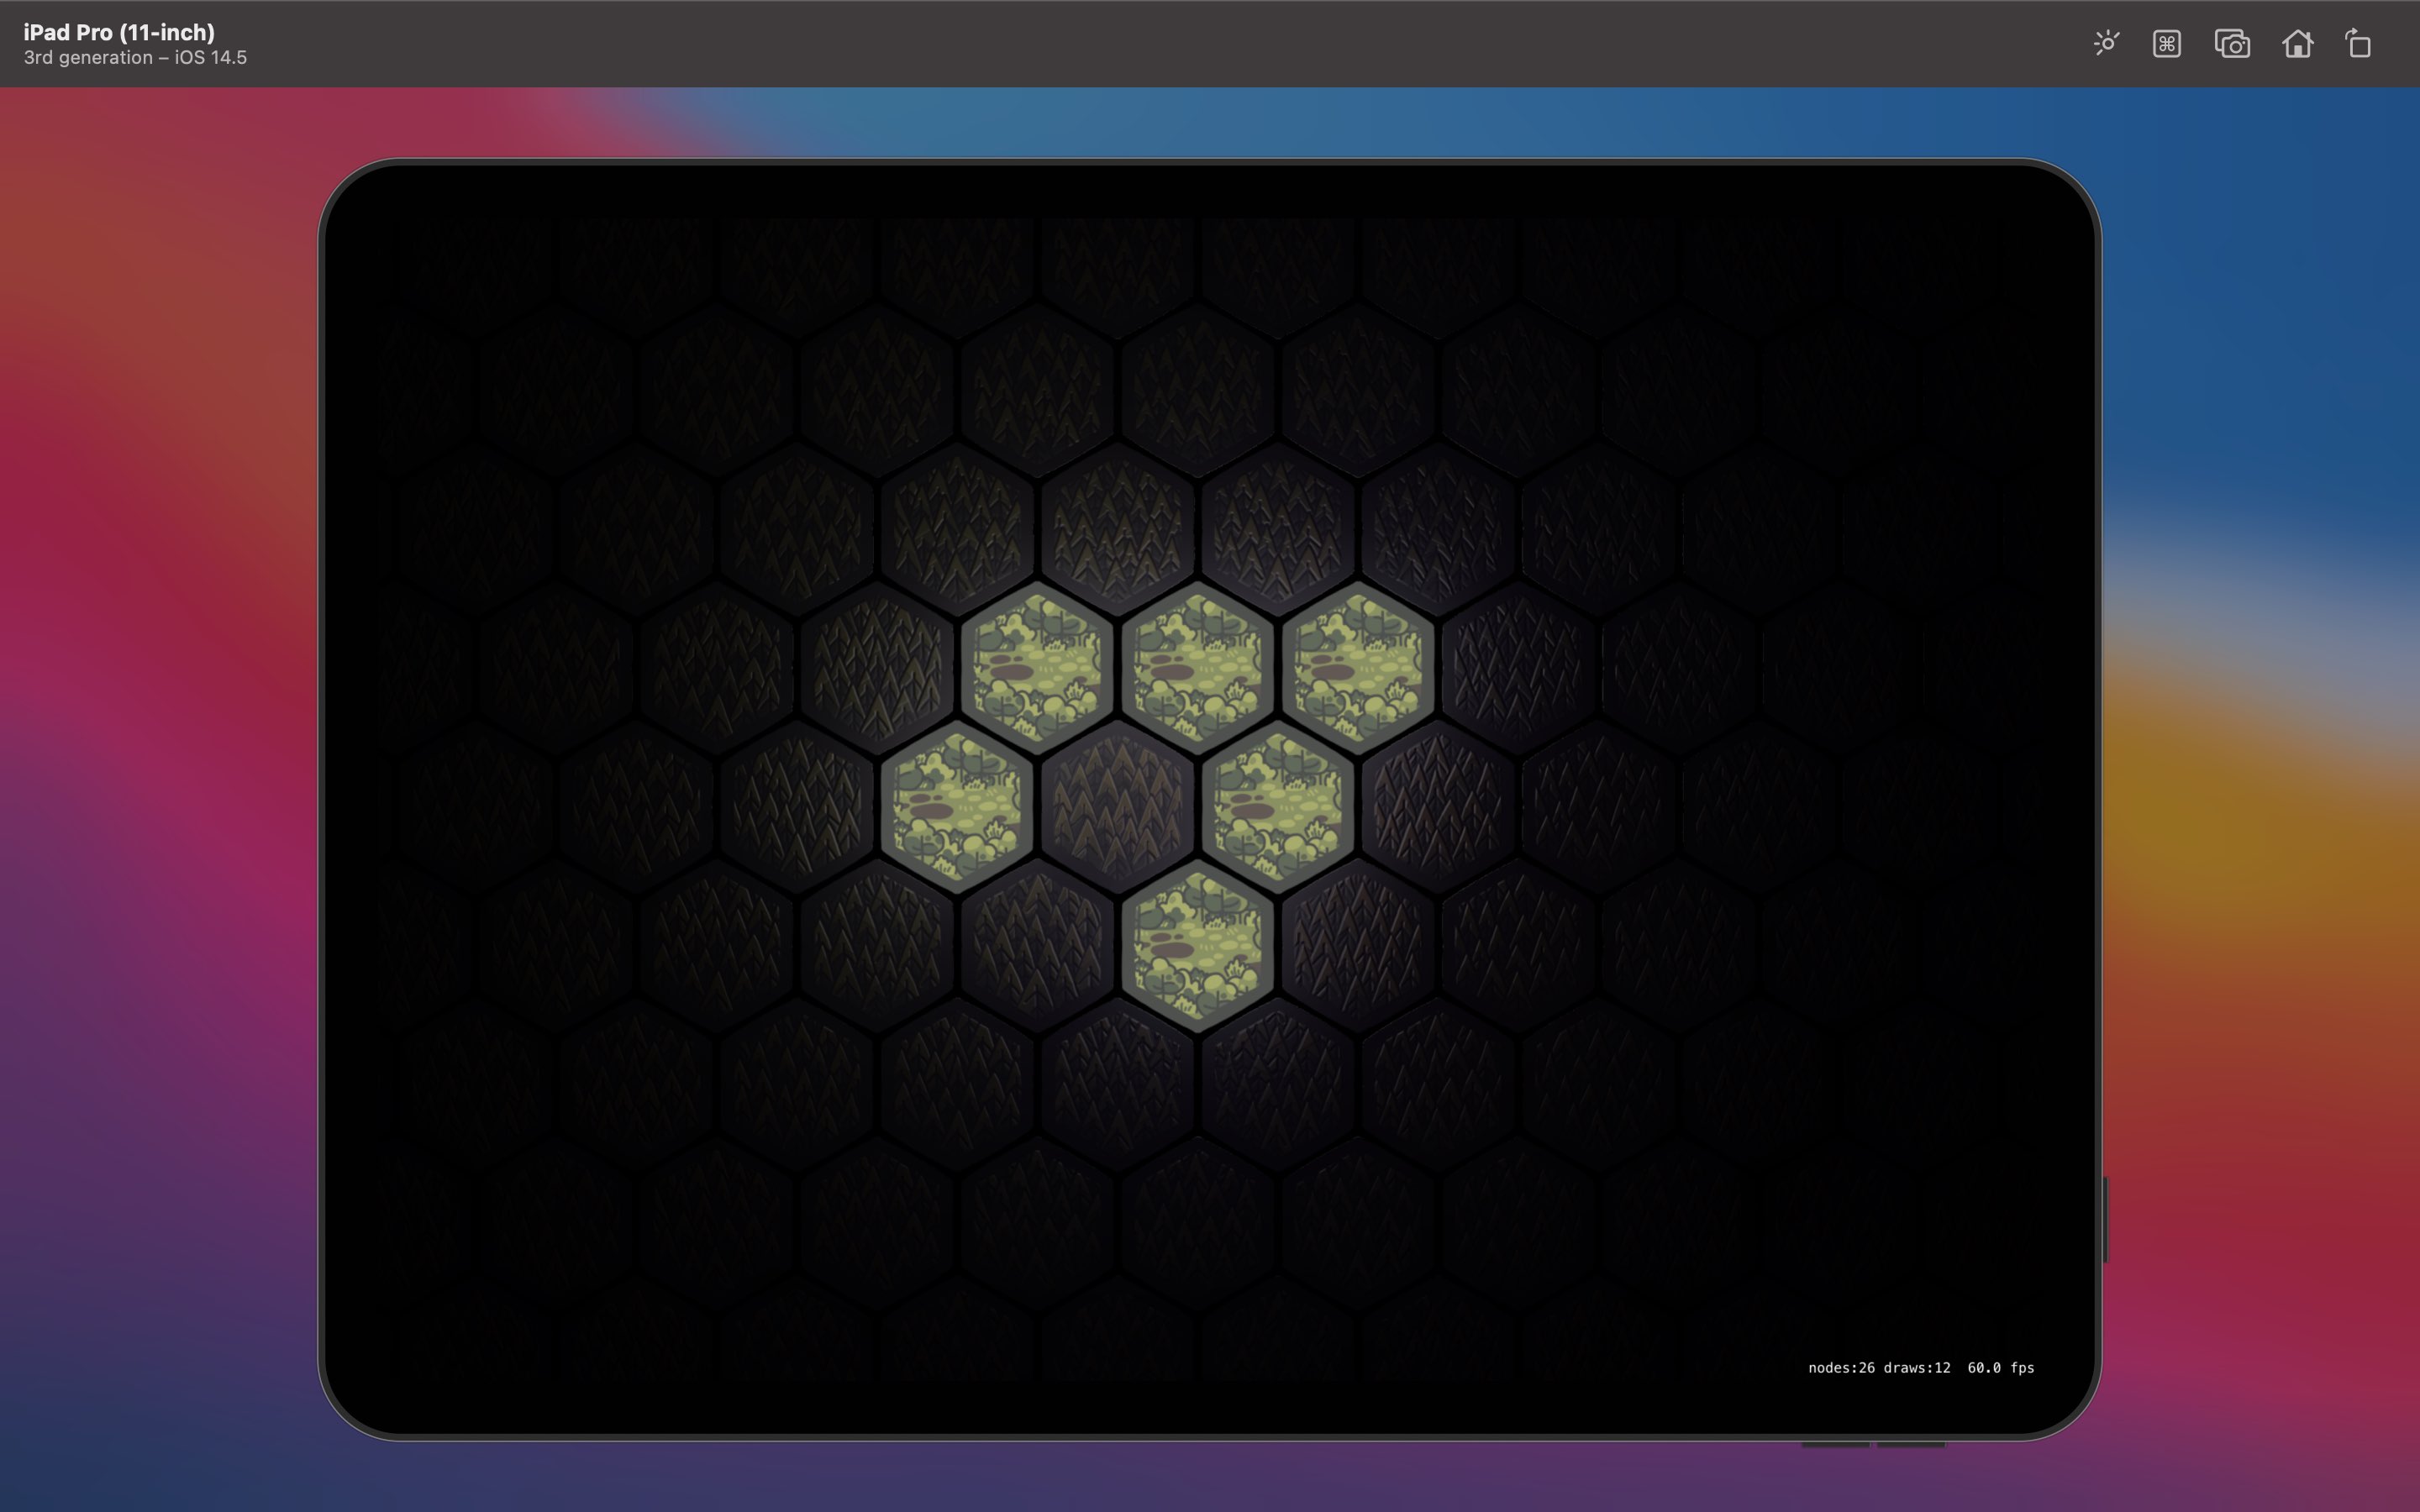
The individual trees on the tile are now slightly embossed leading to extra shadow detail based on the light coming from the revealed tiles. I particularly like that the trees blending into the darkness can be seen by the light glinting from the tips whilst the rest is obscured.
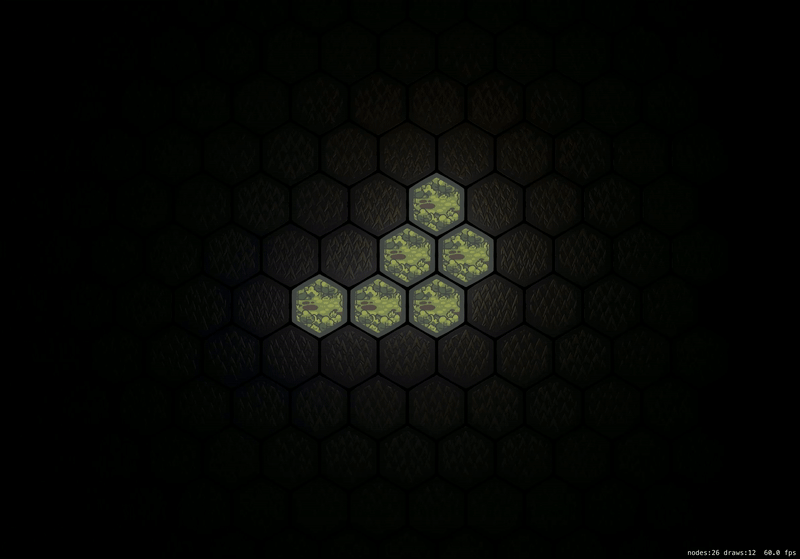
Whilst I’m happy with where things are now, a new issue appeared when I started to zoom in and out of my board using an SKCameraNode; the light does not scale. It turns out that the light nodes might be based on the SKView size rather than that of the scene so the camera does not adjust them. My solution was to create a subclass of SKLightNode which reacts to the camera changing and adjusts its falloff accordingly:
class ScalableLightNode: SKLightNode {

    var fixedFalloff: CGFloat

    init(falloff: CGFloat) {
        self.fixedFalloff = falloff
        super.init()
        NotificationCenter.default.addObserver(self, selector: #selector(scaleDidChange), name: BoardCameraMaster.Notification.cameraScaleDidChange, object: nil)
    }

    required init?(coder aDecoder: NSCoder) {
        fatalError("init(coder:) has not been implemented")
    }

    @objc func scaleDidChange(notification: Notification) {
        guard let scale = notification.userInfo?["scale"] as? CGFloat else {
            fatalError("BoardCameraMaster.Notification.cameraScaleDidChange received with no scale")
        }
        updateFalloff(scale)
    }

    func updateFalloff(_ scale: CGFloat) {
        falloff = fixedFalloff * scale
    }

}
The node uses NotificationCenter to be alerted when the camera scale has changed and then updates its falloff based on the initially provided value multiplied by the scale. The end result is not perfect (the radius seems to shrink faster when you’re zoomed out) but it’s close enough for my needs:
This would be a good place to stop but unfortunately there are two final wrinkles that are going to cause problems. Firstly, if I add a light node to every revealed tile then the amount of light gets compounded; this leads to the board being far too illuminated as more tiles get revealed. Secondly, there appears to be a limit to how many light nodes you can have; once exceeded, they just don’t appear. That’s not going to work. 😂
To remedy this, I think I’m going to only have a light node on the tile in which the player character is currently standing. This will illuminate the bit of forest they are stood in but the path they have taken will still be “lit up” by virtue of being a revealed tile that isn’t affected by lighting; it just won’t cast an ambient glow into the surrounding trees. That will leave me with enough light nodes to do other interesting effects like showing a campfire in the distance or have flashes of lightning in a storm that light up the whole forest temporarily.
That’s a job for another day though as I’m now keen to get on with the process of actually generating the paths that will turn this into something more closely resembling a game…
-
Wikipedia. Normal Mapping ↩︎
-
The precise numbers you want will vary depending on the effect you’re going for and the starting 2D image. ↩︎